JIRA Zephyr Scale | Key Features | Install

Jira and Zephyr are two separate tools developed by Atlassian that are commonly used together for software testing and quality assurance purposes. Let’s take a closer look at each tool and how they work together.
JIRA Zephyr:
JIRA Zephyr, also known as Zephyr Scale, is an add-on or plugin for Jira that specifically focuses on test management. It enhances Jira’s capabilities by providing comprehensive test management functionality within the Jira ecosystem. Zephyr for Jira allows teams to plan, create, execute, and track tests, making it easier to manage and maintain the quality of software products.
JIRA Zephyr offers the following key features:
- Test Planning: Teams can create test plans, define test cycles, and organize test cases within Jira.
- Test Execution: Testers can execute test cases, log test results, and track defects directly within Jira.
- Test Coverage: Zephyr for Jira provides visibility into test coverage, allowing teams to understand which areas of their software have been tested.
- Traceability: Users can establish traceability links between requirements, test cases, and defects, ensuring that all testing activities are aligned with project requirements.
- Reporting and Metrics: Zephyr for Jira offers built-in reports and metrics to monitor testing progress, identify trends, and measure the effectiveness of testing efforts.
Integrating Jira and Zephyr:
By integrating Zephyr for Jira with Jira Software, teams can seamlessly manage their testing activities alongside their project management and development tasks.
The integration allows for improved collaboration, better traceability, and enhanced visibility across the software development lifecycle.
With Zephyr for Jira, test cases and test execution results are linked to Jira issues, enabling teams to associate testing efforts with specific user stories, requirements, or bug reports.
This integration ensures that testing activities are well-documented, and the entire team can easily access and refer to the test artifacts.
Setup
To set up Jira with Zephyr, you’ll need to follow a few steps to install and configure Zephyr for Jira. Here’s a general guide on how to set up Jira with Zephyr:
- Install Zephyr for Jira:
- Open your web browser and log in to your Jira instance as an administrator.
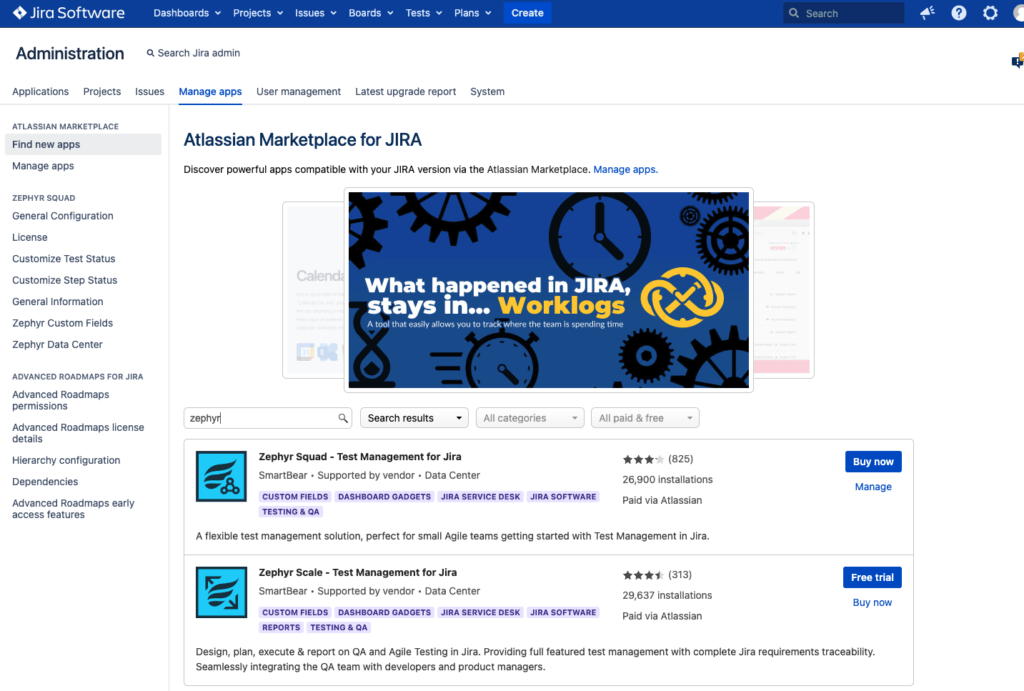
- Navigate to the Atlassian Marketplace (https://marketplace.atlassian.com/) or the Jira app store within your Jira instance.
- Search for “Zephyr for Jira” or “Zephyr Scale” and select the appropriate version for your Jira instance (Server/DC or Cloud).
- Click on the “Get it now” or “Try it free” button to initiate the installation process.
- Follow the on-screen instructions to complete the installation.
- Configure Zephyr for Jira:
- Once Zephyr for Jira is installed, navigate to the Jira administration panel.
- Look for the Zephyr for Jira or Zephyr Scale section and click on it.
- You may need to enter the license key if prompted during the configuration process.
- Configure any additional settings according to your team’s testing requirements, such as test case templates, custom fields, or permissions.
- Create Test Cycles and Test Cases:
- In Jira, navigate to the project where you want to set up testing using Zephyr.
- Create a Test Cycle: Test cycles are used to group related test cases. Click on the “Zephyr” or “Test” menu, and select “Create Cycle.”
- Define Test Cases: Within the created Test Cycle, click on the “Create Test” button to define test cases. Provide details such as test case name, description, steps, and expected results.
- Execute Test Cases:
- Once test cases are defined, you can execute them to track testing progress.
- Open the desired test case and click on the “Execute” button.
- Log the test results, including pass, fail, blocked, or other relevant statuses, along with any additional details.
- View Test Execution Reports:
- Zephyr for Jira provides various reporting capabilities to monitor test execution and track the quality of your software.
- Navigate to the “Reports” section in Zephyr for Jira to access reports such as test execution summaries, traceability reports, or defect reports.
It’s important to note that the specific steps and options may vary slightly depending on the version and deployment (Server/DC or Cloud) of Jira and Zephyr for Jira you are using. It’s recommended to refer to the official documentation or user guides provided by Atlassian and Zephyr for detailed instructions specific to your version and deployment.
By following these steps, you can set up Jira with Zephyr and begin managing your test cases, test cycles, and test execution within your Jira instance, effectively integrating testing activities into your project management workflow.
Furthermore, the integration with Jira’s reporting capabilities enables teams to generate comprehensive test reports, track testing progress, and make data-driven decisions about the quality of their software.
In summary, Jira is a project management and issue-tracking tool, while Zephyr for Jira is a test management add-on or plugin specifically designed for Jira. Together, they provide a comprehensive solution for managing software development projects, including planning, tracking, executing, and reporting on testing activities. The integration between Jira and Zephyr enhances collaboration, traceability, and visibility, making it easier for teams to deliver high-quality software products.


Post Comment